01 / UNPREPARED GROUND1
Filling on unprepared ground
A puncture risk. Clear sharp stones and debris first, and use a sand bed or ground sheet.
PREPARE THE GROUND
GUIDE
A pillow water bladder tank needs flat ground, not a building. There is no concrete base, no tank stand and no crane. The job is: prepare the ground, unroll the tank, connect the inlet, fill slowly, and check the fittings.
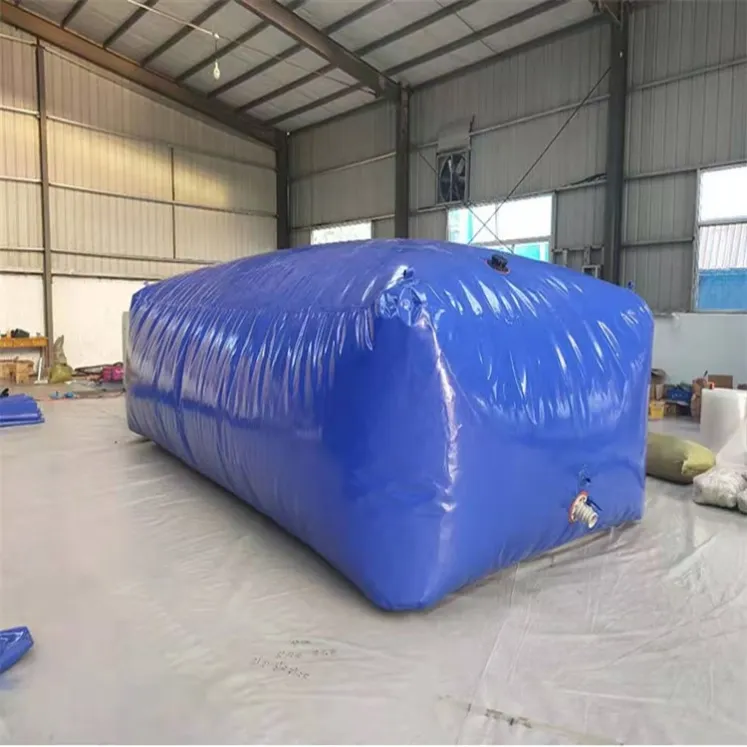
STEP 1 — GROUND
Choose flat, clear ground at least as large as the tank's filled footprint, plus working space. Remove sharp stones and debris. Common practice is a sand bed or ground sheet under the tank — confirm for your site when you order. Do not place it on broken concrete, sharp gravel or a slope.
At least the filled footprint, plus working space.
Common practice under the tank.
Broken concrete, sharp gravel or a slope.
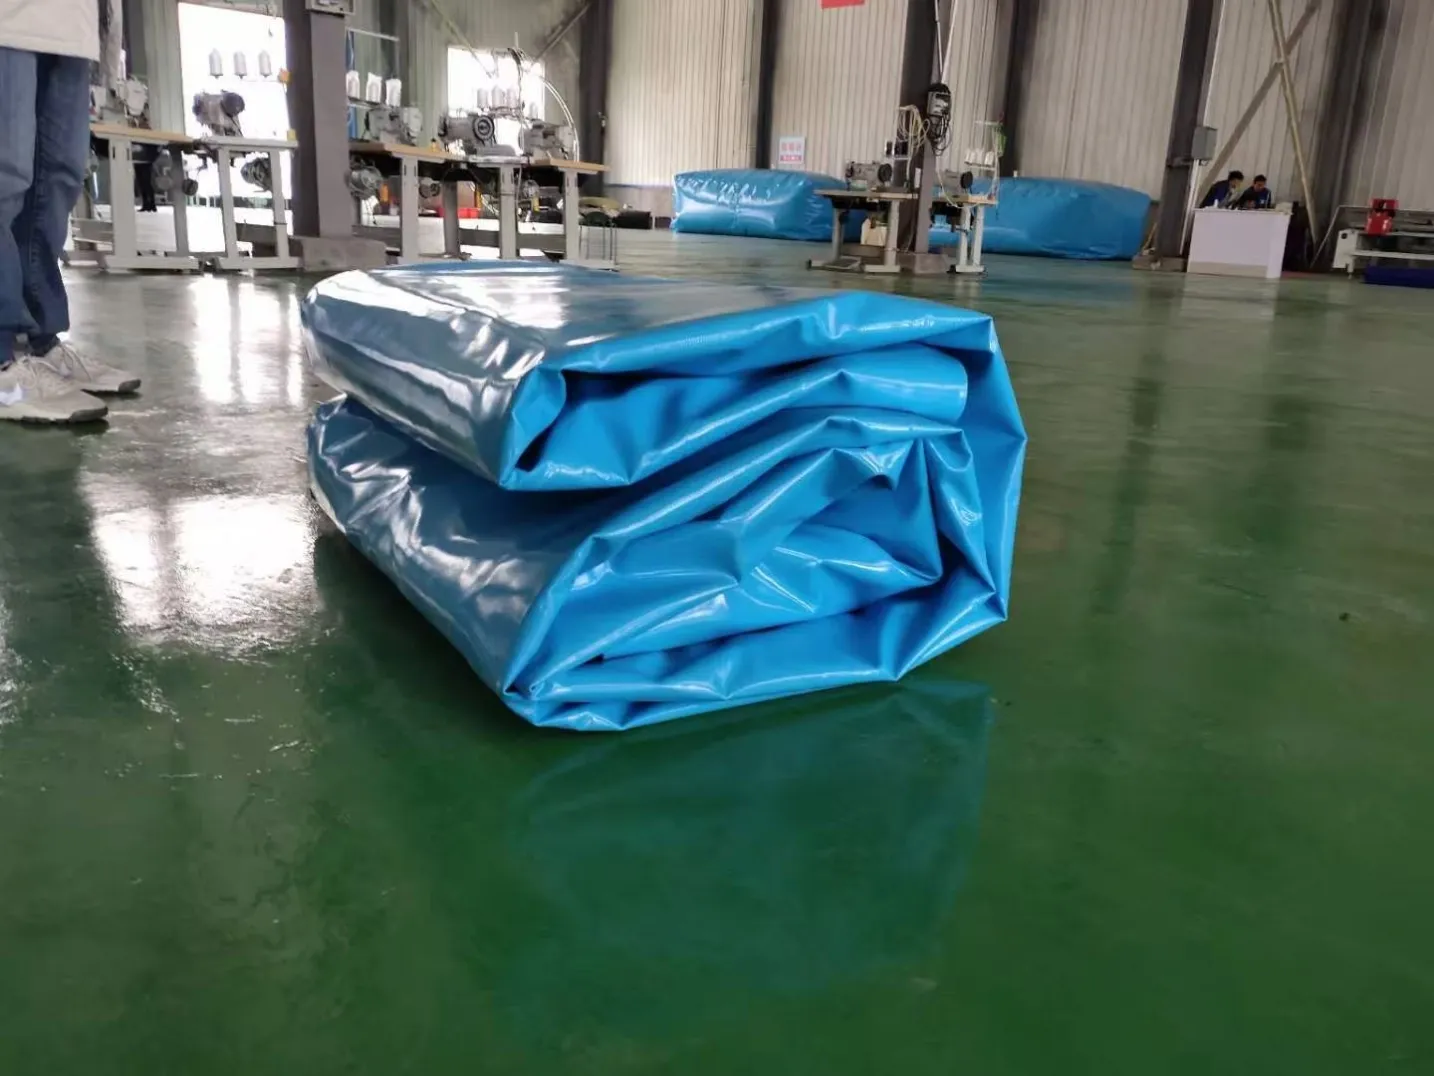
STEP 2 — UNFOLD
Folded sizes are compact — a 10,000 L tank folds to 0.8 x 0.5 x 0.4 m. Unroll the tank on the prepared ground, keep the inlet and outlet accessible, and keep the vent clear.
10,000 L folds to 0.8 x 0.5 x 0.4 m.
Keep them accessible.
Keep the vent clear.
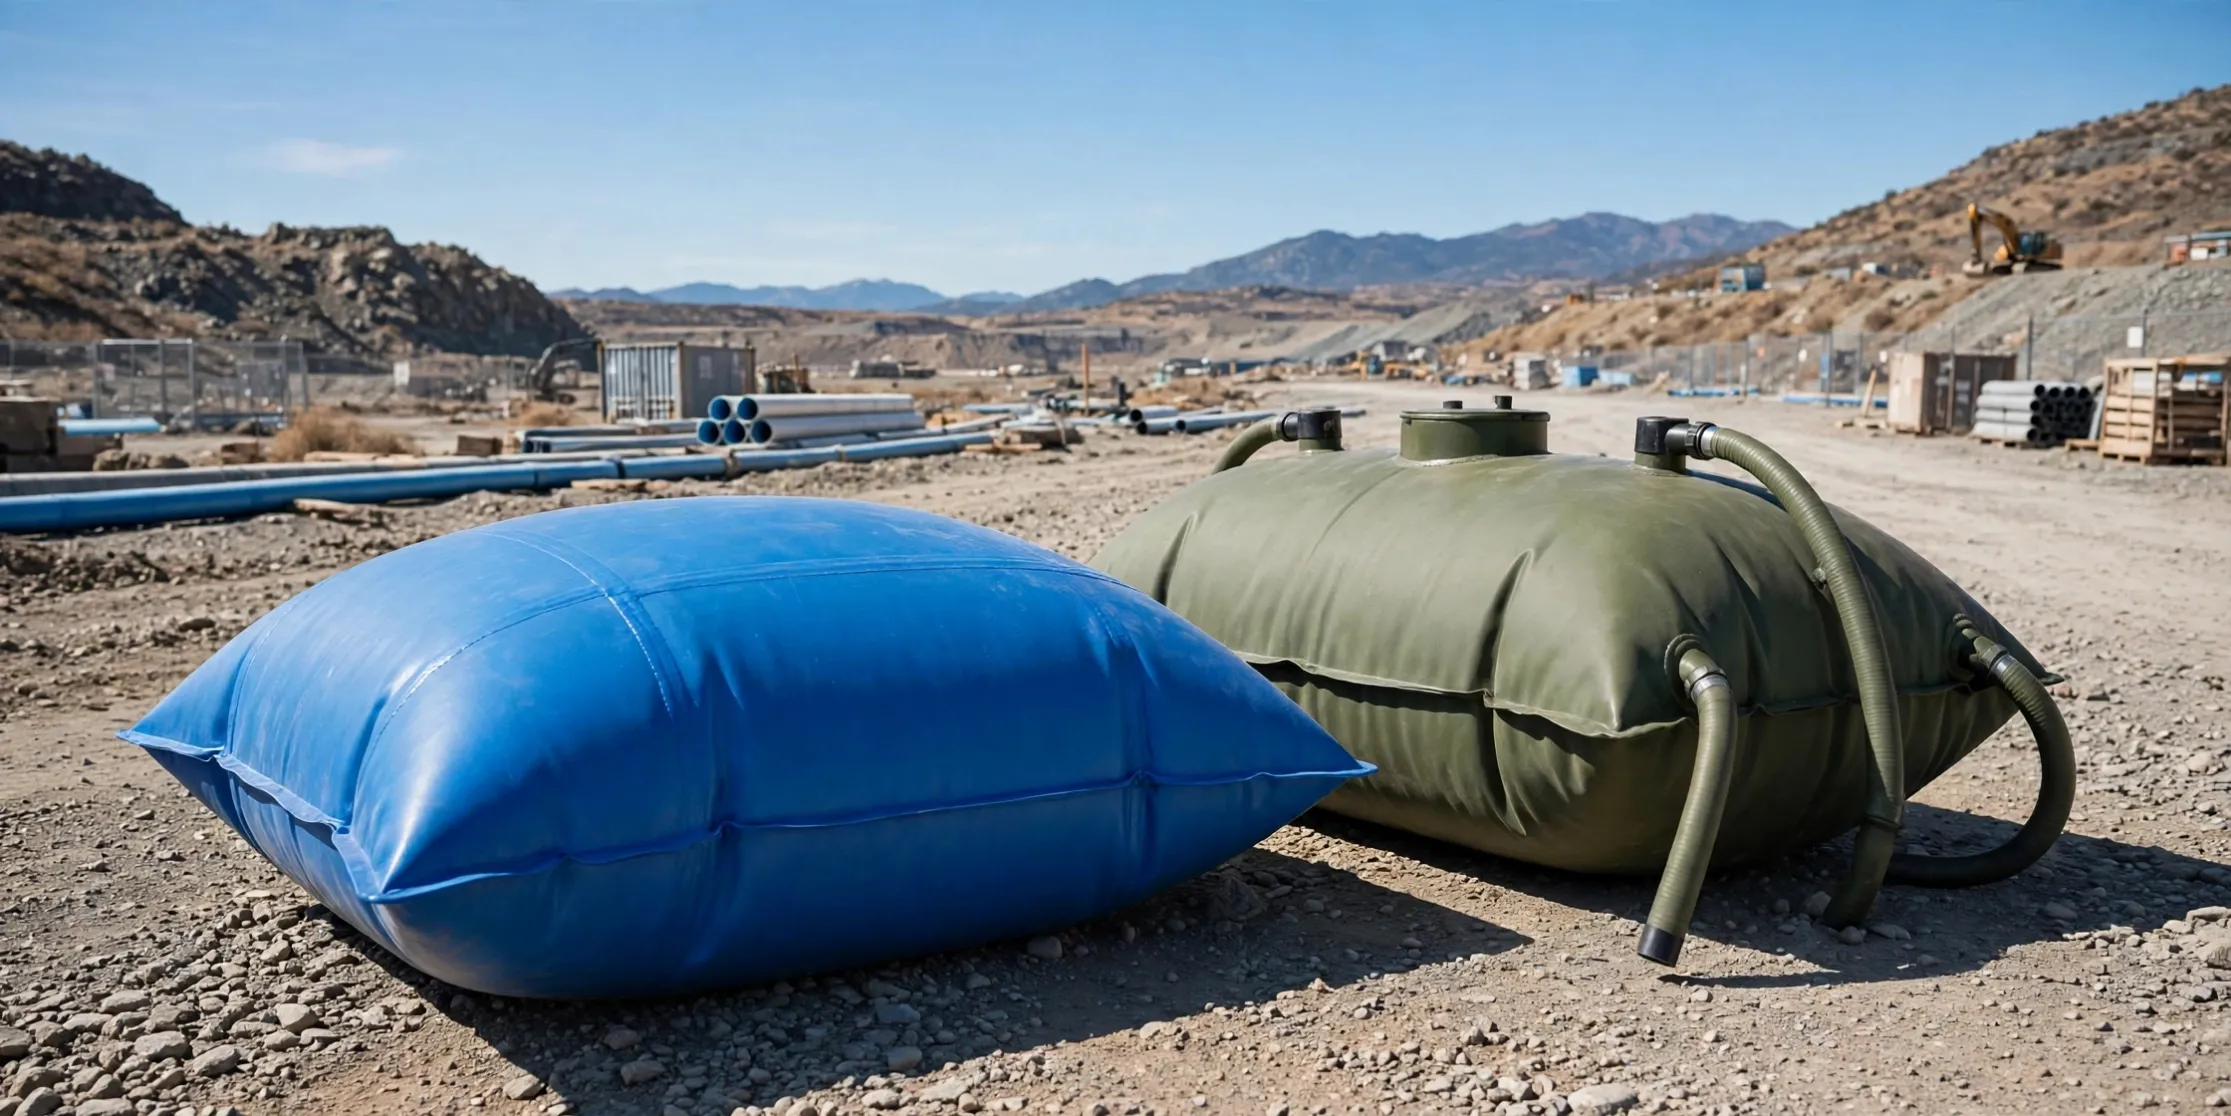
STEP 3 — CONNECT AND FILL
Connect the inlet — a Camlock-type inlet is common, and the exact fitting size and material are confirmed per order. Fill slowly, and leave the vent open while filling so trapped air escapes.
Camlock-type inlet is common; size and material confirmed per order.
Leave the vent open while filling.
Check them as the tank fills.
STEP 4 — USE AND EMPTY
Draw from the outlet valve. When the tank is empty, drain it fully, clean it, dry it, fold it and store it out of direct sunlight. A repair kit is a standard accessory.
Draw water from the outlet valve.
Drain fully, clean, dry, fold, store out of direct sunlight.
A standard accessory.
WHAT CAN GO WRONG
One person can handle the smaller sizes; allow a crew for 20,000L and above. Avoid these four mistakes — each one is easy to prevent.
A puncture risk. Clear sharp stones and debris first, and use a sand bed or ground sheet.
Leave the vent open while filling so trapped air can escape.
Never overfill beyond the tank's rated capacity.
Position the tank empty and fill in place. Never drag a filled tank.
INSTALLATION QUESTIONS
Quick answers about installing a water bladder tank on site.
Still need help? Send us an enquiry and we will point you in the right direction.
Enquiry
Tell us the medium, capacity, quantity and destination, and we will reply with a written quotation.
100 sets, with 1 sample set first.
20 days for standard sizes, 30 days for custom sizes.
Valve size and material to be confirmed per order.